IPhone Camera Timer – Hands Free Photography!
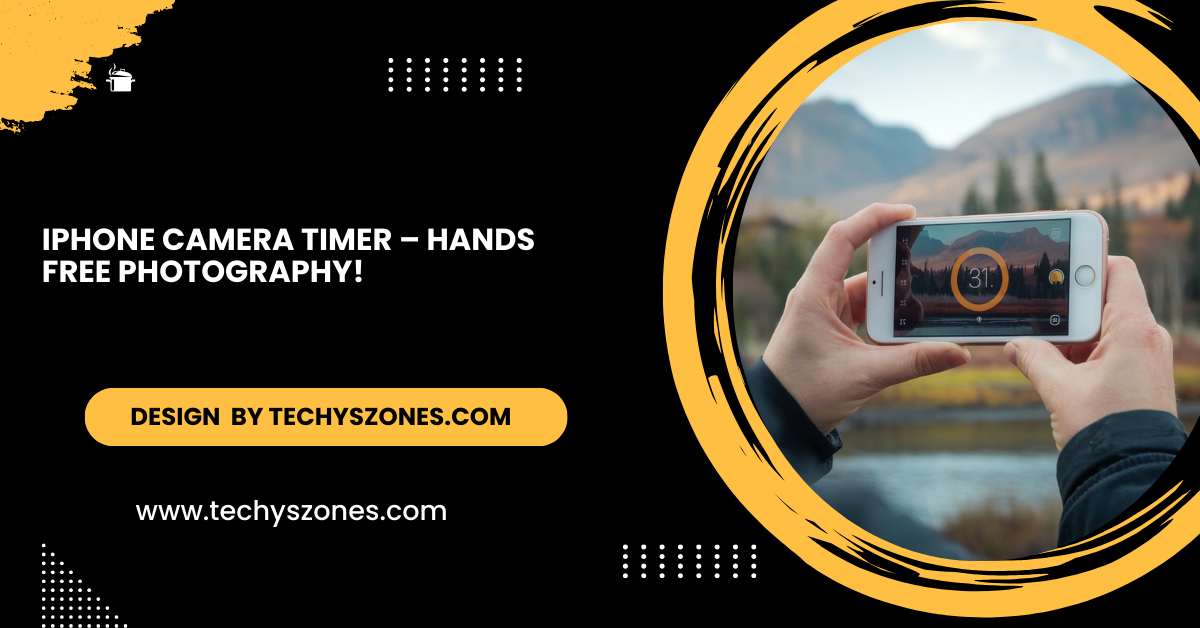
IPhone camera timer allows for hands-free, delayed photos, perfect for selfies, group shots, and steady captures.
The iPhone camera timer is a simple tool that helps you take better photos without needing to hold the phone. Whether you’re capturing a group photo or a selfie, the timer makes it easier to get everyone in the frame and reduce any camera shake for clearer pictures.
What is the iPhone Camera Timer?
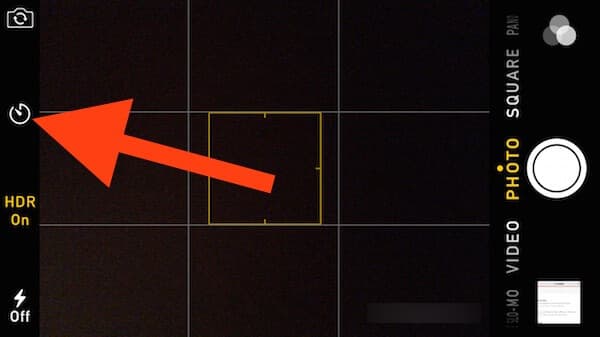
Source: aiseesoft
The iPhone camera timer allows you to set a delay between pressing the shutter button and capturing the photo. This feature is perfect for:
- Group Shots: Ensure everyone is in the frame without rushing.
- Selfies: Achieve more natural poses without holding the phone.
- Steady Shots: Minimize camera shake for clearer images.
How to Use the iPhone Camera Timer?
Using the camera timer on your iPhone is straightforward. Here’s a step-by-step guide:
Open the Camera App:
Launch the Camera app from your home screen.
Select Your Mode:
Choose the mode you want to use. The timer works in Photo, Portrait, and Square modes.
Access the Timer:
- Tap the arrow at the top of the screen (on iPhone models with iOS 14 and later) or swipe up on the viewfinder (on older models).
- Tap the timer icon, which looks like a clock.
Set the Timer:
Choose between a 3-second or 10-second delay.
Frame Your Shot:
Position your iPhone on a stable surface or a tripod. Frame your shot carefully.
Take the Photo:
Press the shutter button and get into position. The timer will count down and take the photo.
Also Read: Cat Camera Collar – The Ultimate Tool For Pet Owners!
Advanced Techniques for Using the iPhone Camera Timer:
Use Night Mode with the Timer:
Night mode on the iPhone can benefit greatly from the use of the timer. By using the timer, you can avoid any movement that might cause blur during the longer exposure time required for night shots. Set your iPhone on a tripod or a stable surface, activate night mode, and set the timer to ensure the steadiest shot possible.
Combine with Live Photos:
When using the timer, you can also take advantage of Live Photos. This feature captures a short video along with your photo, adding a dynamic element to your shots. It’s especially useful for capturing moments with motion, such as group photos with children or pets.
Experiment with Long Exposure:
For those looking to get creative, combining the timer with long exposure can produce stunning effects. Whether you’re capturing the flow of water, light trails, or any other motion blur effect, the timer helps ensure the camera remains still during the extended exposure time.
Use the Timer for HDR Shots:
High Dynamic Range (HDR) photography combines multiple exposures to create a single image with a greater range of light and color. Using the timer can help stabilize the phone and ensure each exposure is captured cleanly, resulting in a higher quality HDR image.
Tips for Using the iPhone Camera Timer:
Use a Tripod:
A tripod ensures stability, especially for group shots or low-light conditions. Investing in a good quality tripod can make a significant difference in the clarity and composition of your photos.
Experiment with Angles:
With the timer set, you can explore different angles and compositions without holding the phone. Try placing the phone at various heights or angles to find the most flattering perspective.
Combine with Burst Mode:
When the timer is used, the iPhone often captures a burst of photos, allowing you to choose the best shot. This is particularly useful for action shots or when capturing moments with a lot of movement.
Utilize Remote Shutter Control:
Pair your iPhone with an Apple Watch or use Bluetooth remotes for more control over when the photo is taken. This can be especially handy for taking shots from a distance or when you want to be part of the action without running back to the phone.
Benefits of Using the iPhone Camera Timer:
- Improved Composition: More time to frame the shot, ensuring that everything is in place before the photo is taken.
- Hands-Free Operation: Perfect for selfies and group shots, allowing for more natural and relaxed poses.
- Reduced Shake: Clearer images with less blur, especially in low-light conditions or when using long exposure.
- Enhanced Creativity: The timer opens up possibilities for creative photography, such as long exposure and HDR shots, without the need for expensive equipment.
FAQ’s
1. How do I set the timer on my iPhone camera?
To set the timer, open the Camera app, tap the arrow at the top of the screen or swipe up on the viewfinder, then tap the timer icon. You can choose a 3-second or 10-second delay, depending on how much time you need to get into position before the photo is taken.
2. Can I use the timer in video mode?
No, the timer feature is designed for still photography only. It works in Photo, Portrait, and Square modes but is not available in video recording modes. For video, consider using a remote shutter or starting the recording manually.
3. How do I cancel a timer once it’s set?
If you decide not to use the timer after setting it, simply tap the timer icon again and select “Off” to cancel it. This will return the camera to its regular instant shutter mode, allowing you to take photos immediately.
4. Does the timer work with third-party camera apps?
Many third-party camera apps offer a timer feature similar to the iPhone’s built-in camera. However, the interface and options may vary, so it’s a good idea to explore the app’s settings or help documentation to find the timer function and understand how it works within that specific app.
5. Can I use the timer with Live Photos?
Yes, the timer can be used with Live Photos. When you set the timer and take a Live Photo, the camera captures a short video along with the photo. This is great for capturing moments with movement, as it adds a dynamic element to your shots. You can view the Live Photo by pressing and holding the photo in your gallery.
Conclusion:
The iPhone camera timer is a versatile tool that enhances photography by allowing hands-free, steady shots. Ideal for selfies, group photos, and creative compositions, it helps reduce shake and improve image quality. Mastering this feature can elevate your photography, making it easier to capture perfect moments with precision and ease.

