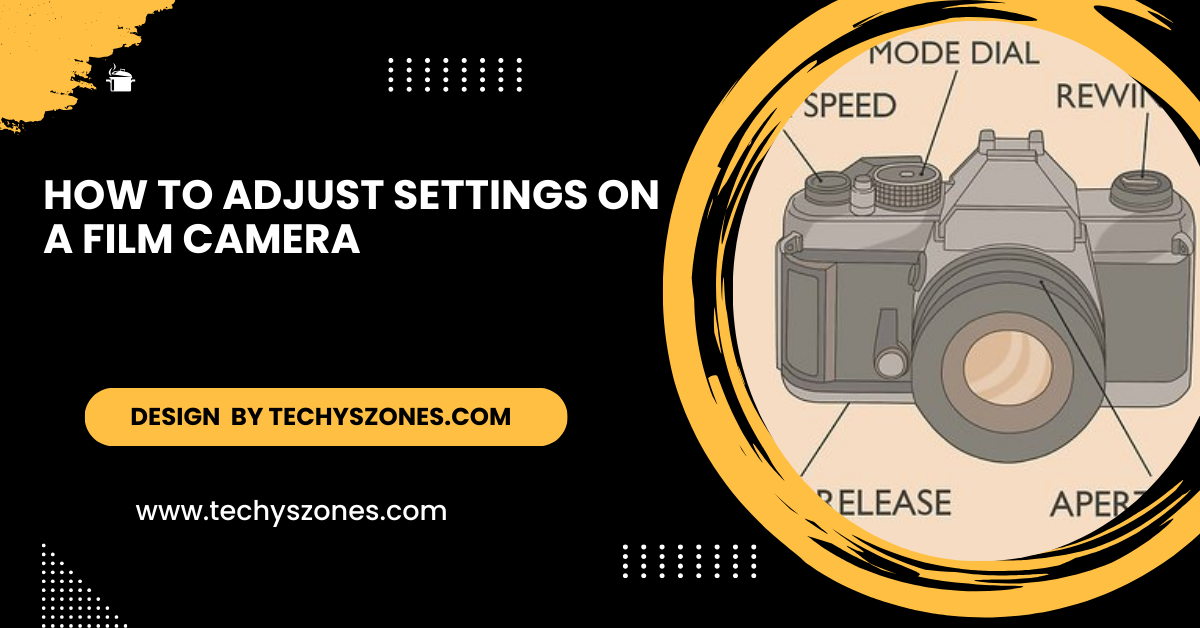
How to Adjust Settings on Film Camera – Easy Adjustments for Your Camera Settings!
Discover essential tips for adjusting settings on your film camera. Mastering aperture, shutter speed, and ISO will help you capture stunning photos and enhance your skills.
This article offers a guide on adjusting settings for a film camera, focusing on aperture, shutter speed, and ISO. It provides tips for mastering these settings for optimal exposure. By following these techniques, photographers can enhance their skills and capture stunning images.
Understanding the Basics of Film Cameras:
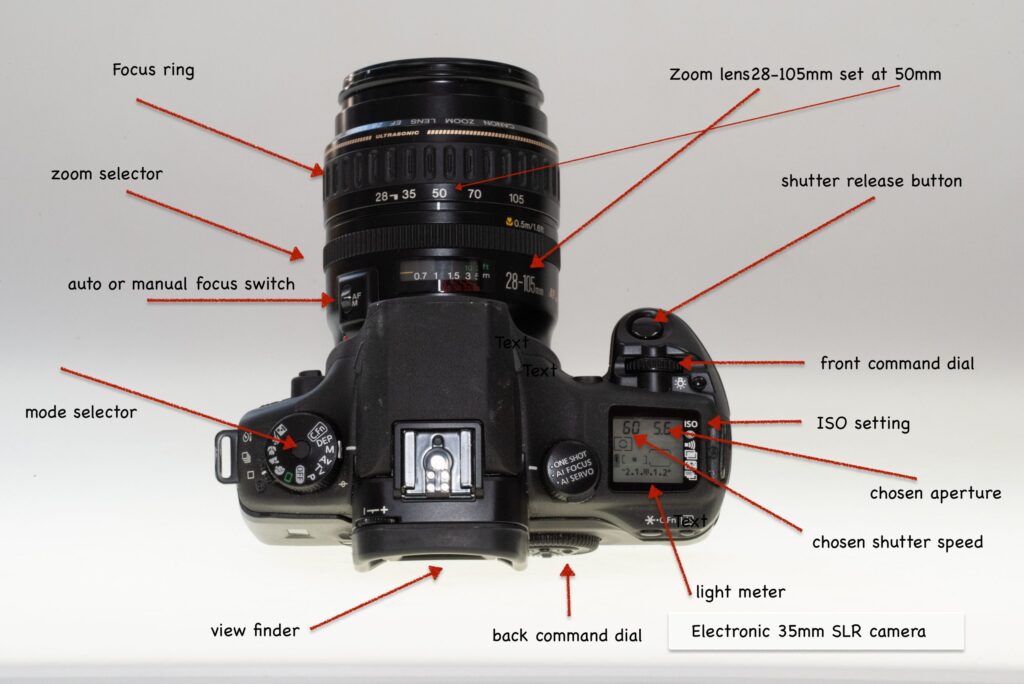
Before diving into the settings, it’s essential to grasp the fundamental components of a film camera. Understanding these elements will lay the groundwork for effectively adjusting your camera settings.
Aperture:
The aperture controls the amount of light that enters the lens and reaches the film. It is expressed in f-stop numbers, such as f/2.8 or f/16. A lower f-stop number (e.g., f/2.8) allows more light in, resulting in a brighter image and a shallower depth of field, which can beautifully blur the background. Conversely, a higher f-stop number (e.g., f/16) allows less light and increases the depth of field, keeping more of the scene in focus.
Shutter Speed:
Shutter speed determines how long the film is exposed to light. It is measured in seconds or fractions of a second (e.g., 1/1000 sec, 1/30 sec). Faster shutter speeds freeze motion, making them ideal for capturing fast-moving subjects, while slower shutter speeds can introduce motion blur, adding a sense of movement to your images.
ISO (Film Speed):
ISO measures the film’s sensitivity to light. A higher ISO (e.g., 800) allows you to shoot in lower light conditions but can introduce graininess in your images. A lower ISO (e.g., 100) results in finer grain and is better for well-lit environments. It’s essential to match your camera’s ISO setting to the film you’re using for optimal results.
Adjusting the Aperture:
To adjust the aperture effectively, follow these steps:
Locate the Aperture Ring:
The aperture ring is typically located on the lens barrel, allowing you to easily adjust the aperture settings. In some camera models, especially those with more advanced controls, you might find a separate dial on the camera body itself, enabling quick adjustments without needing to manipulate the lens directly.
Select Your f-stop:
Choose an f-stop number that suits your creative vision. For portrait photography, a lower f-stop (e.g., f/2.8) can create a beautiful bokeh effect, isolating your subject from the background. In landscape photography, a higher f-stop (e.g., f/11 or f/16) can help keep everything sharp and in focus.
Take Test Shots:
Don’t hesitate to experiment with different apertures. Review the results, and take notes on how each setting affects your images. This practice will help you understand how aperture influences exposure and depth of field.
Tips for Using Aperture:
- Use Depth of Field Preview: If your camera has this feature, it allows you to see the effect of your chosen aperture on the depth of field before taking the shot.
- Consider the Lighting: In bright sunlight, a smaller aperture (higher f-stop number) can help prevent overexposure, while in dim lighting, a larger aperture (lower f-stop number) can brighten your image.
Setting the Shutter Speed:
Setting the shutter speed is crucial for capturing motion accurately. Here’s how to do it:
- Find the Shutter Speed Dial: This dial is often located on the top of the camera body.
- Choose Your Speed: Select a shutter speed based on the action you’re photographing. For example, use a fast speed (1/1000 sec) for sports or wildlife to freeze action. For landscapes or stationary subjects, slower speeds (1/30 sec or less) can be used.
- Use a Tripod: If you’re shooting at slower shutter speeds, using a tripod can prevent camera shake and produce sharper images. If you don’t have a tripod, consider using a stable surface.
Tips for Using Shutter Speed:
- Experiment with Motion: Try using a slower shutter speed to intentionally blur moving subjects, like flowing water or busy streets. This technique can create a sense of dynamism in your photos.
- Check for Camera Shake: As a rule of thumb, use a shutter speed that is at least the same as your lens’ focal length to minimize blur. For example, if using a 50mm lens, use a shutter speed of at least 1/50 sec.
Read More: Why Does Blueiris Return Camera To Wrong Spot – Understanding Common Issues And Solutions!
Adjusting the ISO:
Setting the ISO is essential for achieving the best exposure for your film:
- Check the Film ISO: The ISO rating is usually printed on the film box or canister.
- Set the Camera ISO: Use the ISO dial on your camera (if applicable) to match the film’s ISO. This ensures that your camera meter will provide accurate exposure readings.
- Consider Lighting Conditions: In lower light situations, a higher ISO film will allow you to capture clearer images without introducing significant grain. Conversely, in bright conditions, use a lower ISO film for finer detail and smoother tones.
Tips for Using ISO:
- Understand Film Characteristics: Different films have varying characteristics. For example, some black and white films produce beautiful grain at high ISO settings, while color films might not handle grain as well.
- Be Aware of Grain: If you prefer a cleaner image, consider sticking to lower ISO settings in good light conditions.
Metering Light:
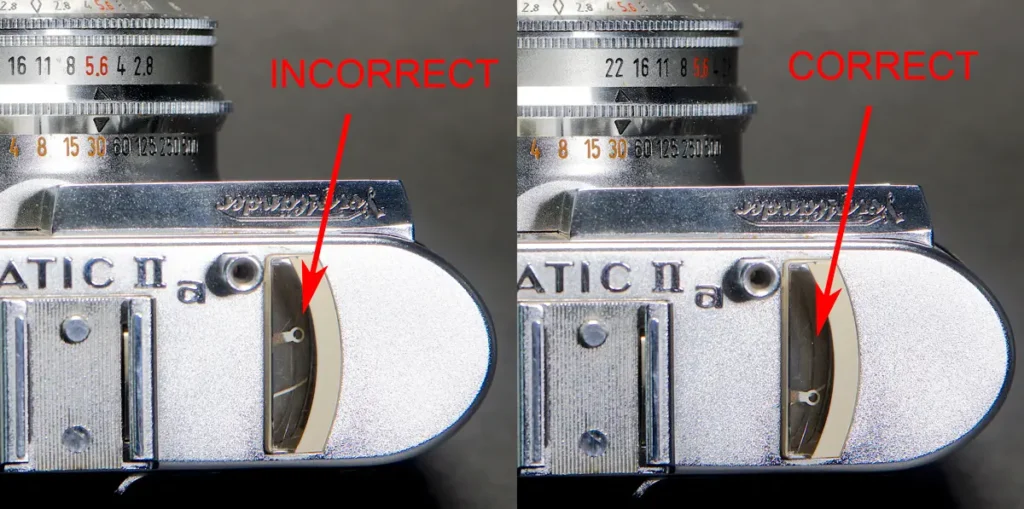
Most film cameras come with a built-in light meter that helps you determine the correct exposure. Here’s how to use it effectively:
- Point the Camera: Aim the camera at your subject to get an accurate reading of the light hitting it.
- Check the Meter Reading: Look at the light meter display in your viewfinder or on the camera body. Adjust your aperture and shutter speed based on the reading until the meter indicates a balanced exposure usually centered.
- Make Adjustments: If the lighting conditions change, recheck the meter and adjust your settings accordingly. For instance, if clouds roll in or the sun goes behind a tree, your exposure may need to be altered.
Tips for Metering Light:
- Spot Metering: If your camera has a spot metering mode, use it to measure light from a specific part of the scene, particularly useful for high-contrast situations.
- Use Exposure Compensation: If you’re not happy with the exposure your meter suggests, you can use exposure compensation to adjust it up or down by a stop or two.
Final Tips for Adjusting Settings
- Practice Regularly: Consistent practice is key to becoming comfortable with your camera settings. Try shooting in various lighting conditions and environments.
- Keep Notes: Document your settings for different environments and subjects. This will help you recall what worked best in specific situations and refine your approach.
- Study the Results: After developing your film, review your images to understand how your settings influenced the final outcome. Analyzing your results will improve your skills and help you make better choices in future shoots.
- Don’t Be Afraid to Experiment: Photography is an art form that thrives on creativity. Try new settings, different film stocks, and various lighting conditions to find your unique style.
FAQ’s
1. What is aperture in a film camera?
Aperture controls the amount of light entering the lens and affects depth of field, influencing how much of the scene is in focus.
2. How do I choose the right shutter speed?
Select shutter speed based on the subject’s motion; use fast speeds for moving subjects and slower speeds for stationary scenes.
3. What does ISO mean in photography?
ISO measures the film’s sensitivity to light; higher ISO allows for shooting in lower light but may increase grain in images.
4. How do I locate the aperture ring?
The aperture ring is typically found on the lens barrel, while some cameras may have a separate dial on the body.
5. Why is metering important in film photography?
Metering helps determine the correct exposure by measuring light, allowing you to adjust settings accordingly for optimal results.
Conclusion
Adjusting the settings on a film camera may seem complex initially, but it becomes intuitive with consistent practice. By mastering aperture, shutter speed, and ISO, you can capture stunning images that showcase your unique artistic vision. Embrace the exciting journey of experimentation and creativity, and let your film camera help you explore and document the beautiful world around you!

