Why Is My Camera Raw In Display P3 – Quick Guide!
Learn why your camera’s RAW images are displaying in Display P3 color space, how to check and change the color profile, and when to use Display P3 for the best results.
In this article, we explain why your camera’s RAW images may be rendered in Display P3 color space and how to check or change the color profile. We dive into the benefits of Display P3, compare it to other color spaces like sRGB, and provide step-by-step guides for adjusting settings in popular software.
What Is Display P3?

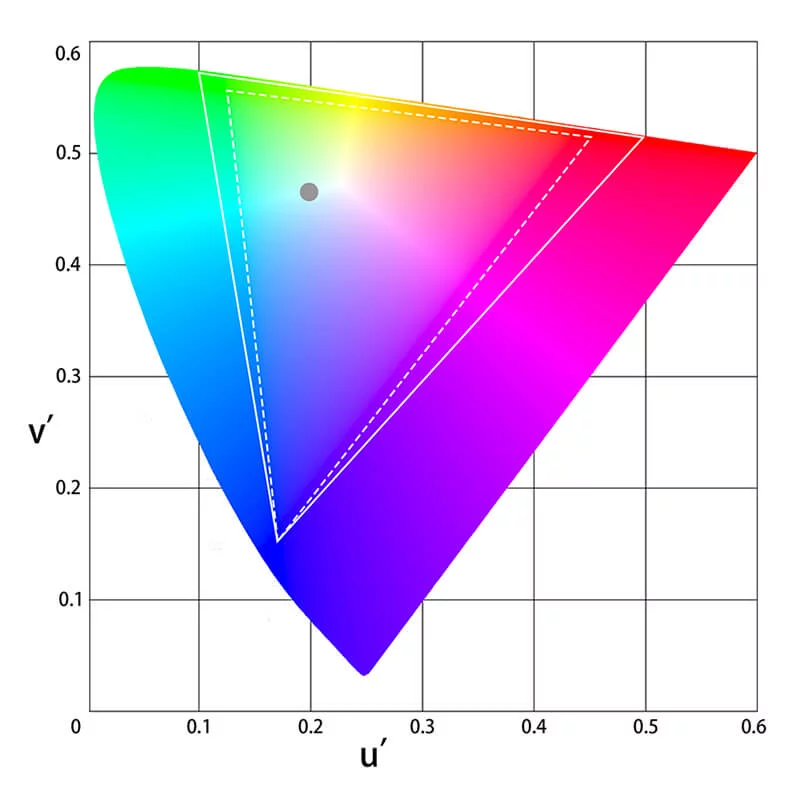
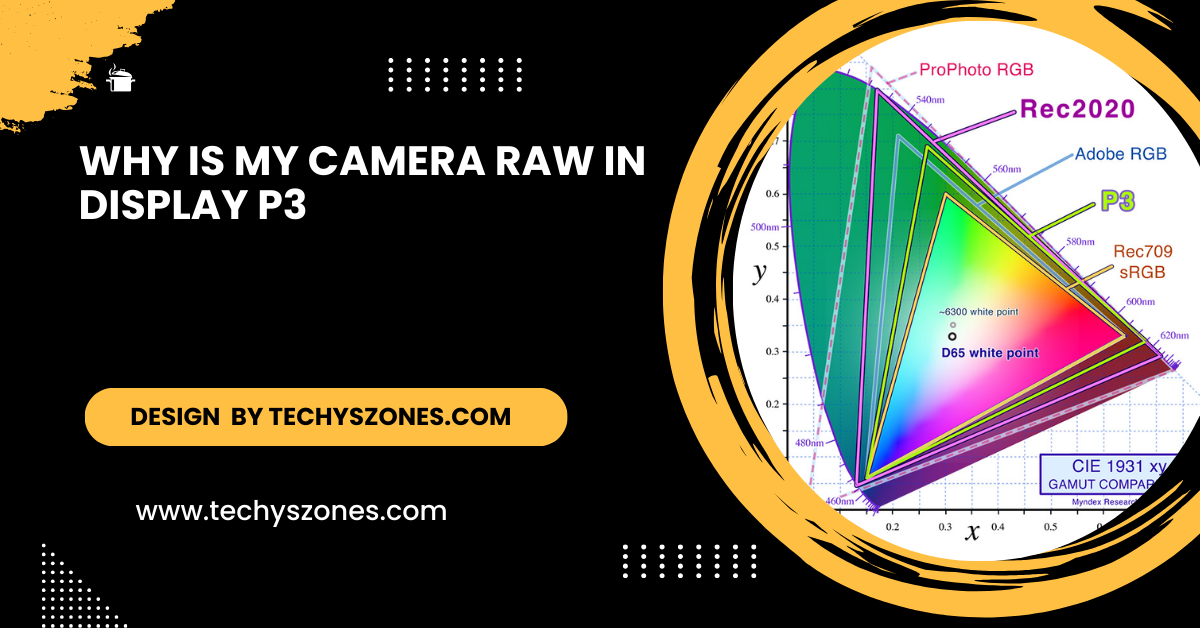
Display P3 is a wide-gamut RGB color space that offers a broader range of colors than the more common sRGB color space. It was first introduced by Apple and is now widely used across many devices, especially those with high-quality screens, such as iPhones, iPads, and modern Mac computers.
The main characteristics of Display P3 are:
- Wider Color Gamut: Display P3 can represent around 25% more colors than sRGB, making it ideal for displaying vibrant, vivid, and realistic images.
- D65 White Point: Display P3 uses a D65 white point, which corresponds to daylight with a color temperature of about 6500K. This is the same white point used in sRGB, ensuring a familiar viewing experience.
- Adapted for Modern Displays: Many high-end screens are now designed to support the Display P3 color space, meaning that more devices are capable of showing the full range of colors offered by Display P3.
This wider gamut is particularly useful for professionals working with high-resolution photography, videography, and graphic design. It allows for richer, more nuanced colors that might not be possible to display in more limited color spaces like sRGB.
Why Are RAW Files Displayed in Display P3?
RAW files themselves don’t inherently carry a fixed color space. They contain unprocessed data from your camera’s sensor, leaving the color space to be determined by the software or device used to interpret the RAW data.
As more devices, especially in the Apple ecosystem, have adopted Display P3 as their default color space, it’s not unusual for your RAW files to be displayed in Display P3 by default.
Here are some common reasons why you might see your RAW images in Display P3:
- Default Color Space in Editing Software: Applications like Apple Photos, Preview, and some versions of Adobe Lightroom and Capture One might use Display P3 as their default color space on compatible displays. This means your images will be rendered in this color space unless otherwise specified.
- Wide Color Gamut Compatibility: If you are using a device with a Display P3-compatible screen, the operating system or software may automatically choose Display P3 to take advantage of the wider color range, especially when you’re working with high-quality RAW files that can capture a broad range of colors.
- Apple Devices: Many Apple devices, including the latest iPhones and Macs, default to Display P3 because it is a core part of their display technology. If you’re working with your RAW images on these devices, Display P3 will likely be the default color space.
Read More: Camera Blacked Out When Vnc – Troubleshooting Guide And Solutions!
How to Check the Color Space of Your Images:
It’s important to know in which color space your RAW images are being rendered, especially if you need them to be consistent across different devices or platforms. Luckily, you can easily check the color profile used for your RAW images in most editing software. Here’s how:
- macOS Preview: Open your RAW file in the Preview app on macOS. Then, go to Tools > Show Inspector and click on the “i” tab. Under “General Info,” you should see the color profile (such as Display P3, sRGB, or Adobe RGB).
- Adobe Lightroom: In Adobe Lightroom, the color space used for editing is typically displayed near the histogram in the Develop module. If your image is being displayed in Display P3, it will show there. You can change the export settings to another color space like sRGB or Adobe RGB if needed.
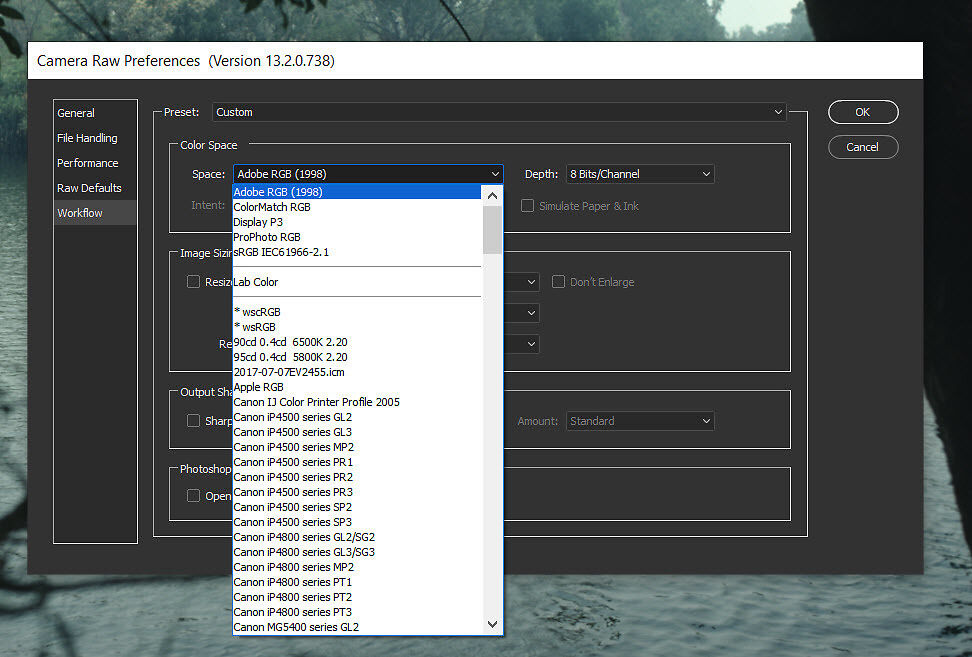
- Adobe Photoshop: Open your RAW file in Photoshop, then go to Edit > Assign Profile. This will allow you to see and change the color profile being applied to your RAW image.
- Capture One: In Capture One, you can find the current color profile under the Color tab. You’ll see which profile is assigned to the image and can change it if necessary.
How to Change the Color Space of Your RAW Images:

If you don’t want your RAW images to be displayed in Display P3, or if you’re working in a workflow that requires a different color space, you can easily change the rendering settings. Different software programs handle color space conversion in various ways:
- Adobe Lightroom: To change the color space for export, go to File > Export and scroll to the Color Space dropdown in the export settings. From here, you can select sRGB, Adobe RGB, or ProPhoto RGB depending on your needs.
- macOS Preview: When exporting an image, you can select File > Export and choose a different color profile from the available options, including sRGB, Adobe RGB, and Display P3.
- Capture One: In Capture One, go to the Color Tab and select the desired color space in the output profile settings. Capture One also offers various rendering options for working with RAW files in different color spaces.
- Adobe Photoshop: In Photoshop, go to Edit > Convert to Profile to change the image’s working color space. You can choose from a range of profiles, including sRGB, Adobe RGB, and ProPhoto RGB.
Should You Use Display P3 for Your Images?
Choosing whether to stick with Display P3 or switch to another color space depends on the use case for your images:
- For Web or Social Media Sharing: Most web browsers and social media platforms are still optimized for sRGB. If you plan to upload your images online, exporting in sRGB ensures that your images will look consistent across different devices and platforms.
- For Professional Printing: Display P3 may be a better option if you’re working on high-quality prints that require accurate color reproduction. Some printers can handle wider gamuts like Adobe RGB or Display P3, offering more vibrant results than sRGB.
- For Personal Use or Apple Devices: If you primarily view your images on Apple devices, keeping them in Display P3 ensures the best color accuracy and range on these screens. However, if you plan to share these images with people who don’t use Display P3-compatible devices, converting them to sRGB may be safer.
FAQ’s
Why is my RAW image in Display P3?
Your device or software likely defaults to Display P3, which offers a wider color range for modern displays.
How can I check my image’s color space?
Use tools like macOS Preview, Adobe Lightroom, or Photoshop to view the assigned color profile in your image.
Can I change the color space of my RAW images?
Yes, you can change the color space in most editing software, such as Lightroom or Photoshop, during export.
When should I use Display P3 over sRGB?
Use Display P3 for high-quality prints or when working on Apple devices; sRGB is better for web and social media sharing.
Is Display P3 compatible with all devices?
No, Display P3 is not universally supported; many devices and platforms, especially older ones, still rely on sRGB.
Conclusion
When your camera’s RAW images are displayed in Display P3, it’s usually due to the software or device optimizing for a wider color gamut. While Display P3 offers excellent color range and depth, especially on modern displays, it may not always be the best option for every situation. Understanding the color space and how to manage it in your workflow ensures your images look their best across different platforms and devices.


