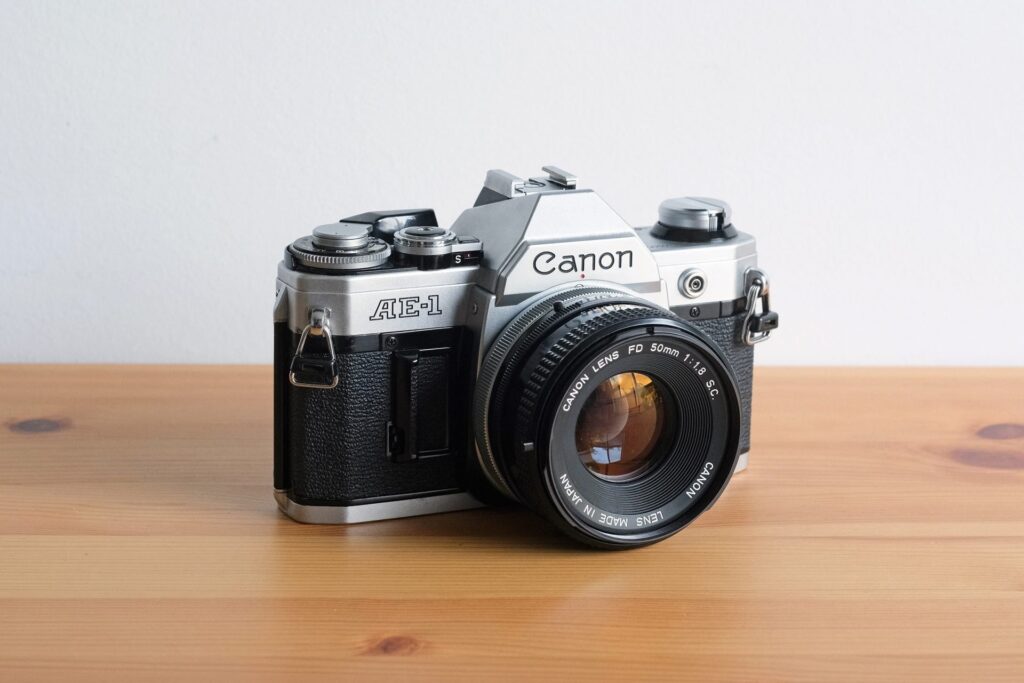
What Camera Light Seal Should I Use For Canon A1 – Choosing The Right Seal!
Learn why replacing light seals in your Canon A1 is essential to prevent light leaks and maintain photo quality. Discover the best options for light seal replacement.
In this article, we’ll dive into what light seals are, their significance in preventing light leaks, and the best replacement options for your Canon A1. You’ll also learn how to maintain your camera’s performance by choosing the right light seals.
What Are Camera Light Seals and Why Are They Important?

Light seals are thin strips of foam or felt located inside the camera, usually around the edges of the film door and near the mirror box. Their primary function is to keep unwanted light from entering the camera and exposing the film in places it shouldn’t. When these seals degrade, which is common in older film cameras like the Canon A1, light can leak in through small gaps, leading to overexposed or ruined images.
With the Canon A1 being over 40 years old, it’s common to find that the original light seals have deteriorated, often crumbling into a sticky mess. This degradation happens because the foam used in these seals is prone to breaking down over time due to exposure to heat, moisture, and general wear and tear.
When light seals fail, you may notice a few key signs:
- Light Streaks or Flares on Film: This is the most obvious sign of a failing light seal. If there are streaks of light on your negatives or scans, it’s a strong indicator that light is leaking in through worn seals.
- Sticky or Crumbling Foam: If you open the back of your camera and notice that the foam is sticky, brittle, or crumbling, it’s time to replace the seals.
- Loose Film Door: If your film door doesn’t close as tightly as it should, it could be because the seals have lost their cushioning effect, allowing gaps for light to sneak in.
Replacing these seals is essential to maintaining the integrity of your photos and ensuring that your Canon A1 functions at its best.
Types of Light Seals for Canon A1:
When it comes to replacing the light seals in your Canon A1, you have a few options, each with its own benefits. Let’s break down the most common choices:
Pre-Cut Light Seal Kits:
One of the easiest and most popular options is to purchase a pre-cut light seal kit designed specifically for the Canon A1. These kits typically include all the foam strips you need, already cut to the correct size for easy installation.
Advantages:
- Convenience: Since the seals are pre-cut, you don’t have to worry about measuring and cutting foam yourself.
- Time-saving: Installation is quicker because the pieces are ready to apply.
- Precise Fit: Since these kits are designed specifically for the Canon A1, you can be sure that they will fit perfectly.
Also Read: 2017 Jeep Wrangler Jk rear View Ackup Camera Not working – How to Diagnose And Fix!
Disadvantages:
Cost:
- Pre-cut kits can be a bit more expensive than DIY alternatives.
- Popular brands offering pre-cut light seal kits for the Canon A1 include Jon Goodman and Interslice. These brands are well-regarded in the vintage camera community for their high-quality foam and detailed instructions, making them reliable choices.
DIY Foam Sheets:
For those who prefer a hands-on approach, DIY foam sheets are an alternative to pre-cut kits. This method involves purchasing sheets of light seal foam and cutting them to the specific sizes needed for your camera.
Advantages:
- Cost-effective: Foam sheets are generally cheaper than pre-cut kits, making this a budget-friendly option.
- Customizable: If you have multiple cameras or want to experiment with different foam thicknesses, DIY allows you that flexibility.
Disadvantages:
- Time-consuming: Measuring and cutting the foam yourself takes more time and patience.
- Risk of Errors: If the foam isn’t cut precisely, it may not seal properly, leading to light leaks.For DIY replacement, it’s essential to use open-cell foam with the appropriate thickness, usually around 1-2mm. You will also need a sharp blade, small scissors, and adhesive tape to ensure a precise fit.
Step-by-Step Guide to Replacing Light Seals on the Canon A1:
Whether you choose a pre-cut kit or DIY foam sheets, replacing the light seals on your Canon A1 is a relatively simple process. Here’s a step-by-step guide to help you through it:
Step 1: Remove the Old Light Seals
The first step is to carefully remove the old, degraded seals. You can do this using a small tool like tweezers or a toothpick. Be gentle to avoid scratching the camera’s internal surfaces. It’s common for the foam to be sticky or crumbly, so take your time.
Step 2: Clean the Camera Surface

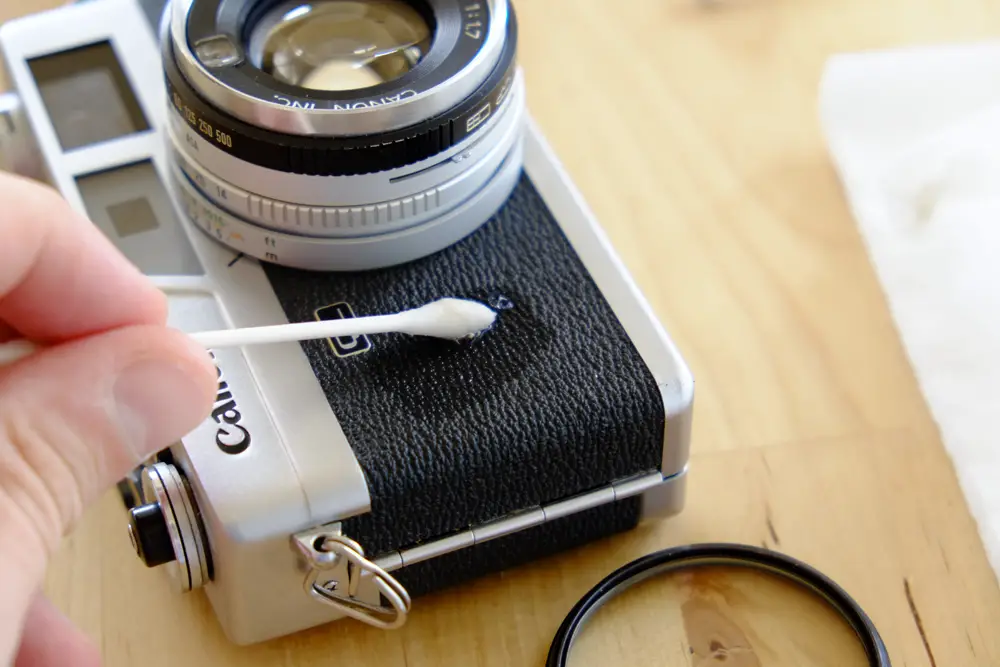
Once the old seals are removed, clean the area with isopropyl alcohol. This will help remove any adhesive residue and prepare the surface for the new seals. Use a cotton swab to gently apply the alcohol, and make sure the area is completely dry before proceeding.
Step 3: Apply the New Seals
If you’re using a pre-cut kit, follow the instructions provided and apply the new foam strips in the designated areas, such as around the film door and mirror box. If you’re doing a DIY replacement, measure and cut the foam pieces to the exact size of the old seals and carefully apply them.
Step 4: Check the Fit
Once the new seals are in place, close the film door and test it to ensure a snug fit. The door should close tightly, without any gaps, to prevent light from leaking in.
Maintenance Tips for Canon A1 Light Seals:
After replacing the light seals, your Canon A1 should be free of light leaks. However, here are a few tips to keep the seals in good condition:
- Store Your Camera Properly: Keep your Canon A1 in a cool, dry place to avoid exposing the foam seals to excessive heat or humidity, which can speed up deterioration.
- Check Seals Regularly: Over time, even new seals will degrade. Make it a habit to check the seals every few years, especially if you notice any signs of light leaks or if the camera has been exposed to harsh conditions.
- Avoid Overhandling: Frequent opening and closing of the film door can cause wear on the seals. Be gentle when handling the camera to extend the life of the foam.
How do I know when it’s time to replace the light seals on my Canon A1?
You should consider replacing the light seals on your Canon A1 if you start noticing light leaks in your photos. Common signs include visible streaks or flares on your film, which appear as unexpected patches of light exposure. These light leaks often result from degraded or crumbling seals that no longer effectively block unwanted light.
Additionally, if your film door doesn’t close tightly and feels loose, it could be due to worn-out seals that no longer provide a snug fit. Regularly checking the condition of the light seals, especially if your camera is old or has seen a lot of use, can help prevent these issues. Replacing the seals promptly will ensure that your Canon A1 continues to produce clean, well-exposed images without the risk of light damage.
FAQs:
1. What are the best pre-cut light seal kits for Canon A1?
Pre-cut kits from Jon Goodman and Interslice are highly recommended for their precision and ease of use.
2. Can I use DIY foam sheets for Canon A1 light seals?
Yes, DIY foam sheets are a cost-effective alternative. Ensure you use high-quality, open-cell foam and cut it accurately.
3. How can I tell if my Canon A1 light seals need replacement?
Look for signs like light streaks on your film or degraded, sticky, or crumbling seals around the film door.
4. Is replacing light seals on a Canon A1 difficult?
No, it’s a straightforward process. You can either use a pre-cut kit for ease or cut your own foam if you prefer a DIY approach.
5. How often should I check the light seals on my Canon A1?
It’s a good idea to check the seals every few years, especially if you notice any light leaks or if the camera has been heavily used.
Conclusion:
In conclusion, replacing the light seals in your Canon A1 is crucial to prevent light leaks and maintain photo quality. Whether you choose a convenient pre-cut kit or a cost-effective DIY solution, using high-quality foam is key. By investing time in this simple process, you can extend the life of your camera and enjoy sharp, well-exposed images for years to come.


