Obs Virtual Camera – Green Screen, Filters, and Transitions!
Install OBS Studio, configure your scenes, start the Virtual Camera from the Controls panel, and select “OBS Virtual Camera” in your app’s video settings to use it as a webcam input.
In this article covers everything you need to know about the OBS Virtual Camera, from setup to troubleshooting. Learn how to easily configure it, discover its various applications for streaming and video calls, and get tips for resolving common issues. Whether you’re new to OBS or an experienced user, this guide will help you maximize its potential.
What is the OBS Virtual Camera?
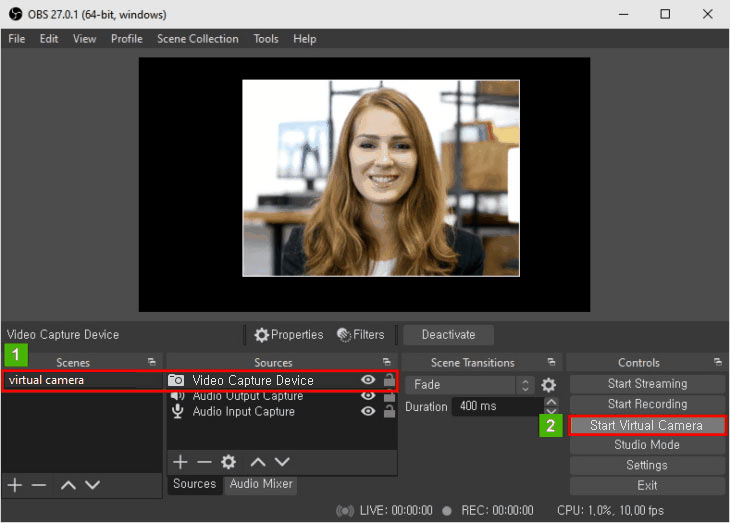
The OBS Virtual Camera is a feature in OBS Studio that allows you to output the scenes and content you’ve created within OBS as a virtual webcam to other applications. Essentially, it acts as a “fake” webcam that streams the visuals from OBS to any software that accepts webcam input, such as video conferencing tools, streaming platforms, and recording software.
- Professional video presentations.
- Streaming creative overlays in live meetings.
- Using pre-made content as your webcam feed.
How to Set Up OBS Virtual Camera:
Setting up the OBS Virtual Camera is simple and allows you to use the scenes you create in OBS Studio as a webcam input for other applications. Follow these steps to get started:
- Download and Install OBS Studio: If you don’t already have OBS Studio installed, download it from the official OBS website. Install the software on your system and open it.
- Configure Your Scenes: Create the scenes you want to use as your virtual camera feed. Add elements like images, text, videos, or screen captures to enhance your output.
Start the Virtual Camera:
- In OBS Studio, click on the Start Virtual Camera button located in the Controls panel.
- Once started, OBS will output your scenes as a virtual webcam.
Select OBS Virtual Camera in Your Application:
- Open the app where you want to use the virtual camera (e.g., Zoom, Teams, or Skype).
- Navigate to the video settings of the app.
- Choose “OBS Virtual Camera” from the list of available webcam options.
Top Applications for OBS Virtual Camera:
The OBS Virtual Camera unlocks creative possibilities for various scenarios, making it a versatile tool for personal, professional, and creative use. Here are the top applications:
- Online Meetings and Classes: Impress your colleagues or students by incorporating slides, videos, or overlays into your webcam feed. OBS Virtual Camera lets you create polished presentations directly in platforms like Zoom or Google Meet.
- Live Streaming: Enhance your live streams on YouTube, Twitch, or Facebook by using OBS Virtual Camera to mix gameplay, facecam, and visual effects seamlessly.
- Content Creation: Create high-quality tutorials, webinars, or product demos by combining OBS features like screen capture and pre-recorded content with the virtual camera.
- Gaming Overlays: Gamers can use OBS Virtual Camera to add fun overlays, alerts, and transitions to their video feeds while streaming.
Also Read: How To Turn Off Camera Shutter On Laptop – A Complete Guide!
Advanced Tips for Using OBS Virtual Camera:
Maximize the potential of OBS Virtual Camera with these advanced tips. Whether you’re streaming, presenting, or creating content, these techniques will help you create professional and polished outputs.
- Add Overlays and Filters: Use OBS filters to enhance your video quality or add fun effects. Combine overlays like lower-thirds, social media handles, or animations to make your feed more professional.
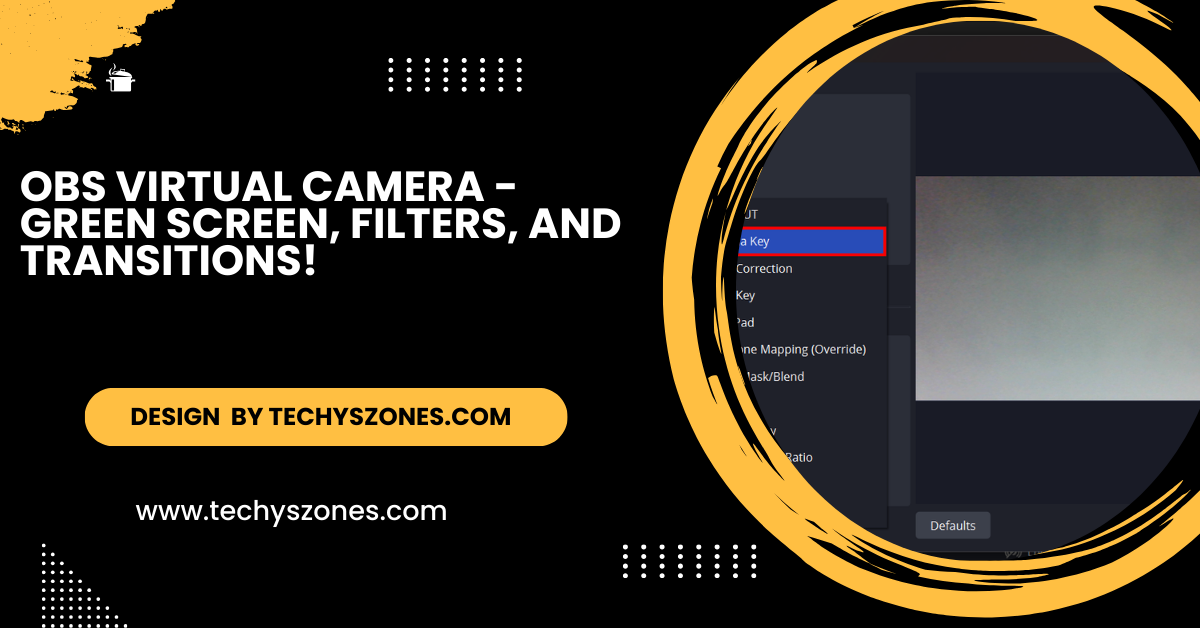
- Integrate with a Green Screen: If you have a green screen, use OBS to remove the background and replace it with custom images or videos. This is perfect for online meetings or game streaming.
- Use Studio Mode for Seamless Transitions: OBS Studio Mode allows you to preview scenes before they go live. Use this feature to switch between scenes smoothly during a presentation.
- Test Your Setup: Before going live, test your OBS Virtual Camera feed in the target application. Ensure all elements (audio, video, overlays) are functioning as expected.
Troubleshooting OBS Virtual Camera Issues:
Despite being a powerful tool, you might occasionally encounter issues while using the OBS Virtual Camera. Here’s a guide to address common problems and ensure a smooth experience.
OBS Virtual Camera Not Showing in Applications:
- Ensure OBS Studio is running, and the Virtual Camera is started.
- Restart the application where you’re trying to use the virtual camera.
- Reinstall OBS Studio to ensure the virtual camera drivers are properly installed.
Video Feed is Lagging or Freezing:
- Lower the output resolution and frame rate in OBS settings.
- Ensure your computer has sufficient resources to handle OBS and other applications simultaneously.
Poor Video Quality:
- Increase the bitrate and resolution in OBS video settings.
- Use a good quality camera or video source in your OBS scene.
FAQ’s
1. What is the OBS Virtual Camera used for?
The OBS Virtual Camera allows you to use the scenes you create in OBS Studio as a webcam feed in applications like Zoom, Microsoft Teams, Skype, and Google Meet. It’s great for enhancing presentations, live streaming, and content creation.
2. What resolution does OBS Virtual Camera support?
The OBS Virtual Camera can output video at the resolution and frame rate you set in OBS Studio. Adjust the settings in OBS to match the requirements of your target application.
3. Can I add overlays or filters to the OBS Virtual Camera feed?
Yes, you can add overlays, filters, and other effects to your scenes in OBS. These will appear in your Virtual Camera feed, enhancing your presentation or stream.
4. Is OBS Virtual Camera suitable for green screen effects?
Yes, OBS Virtual Camera works perfectly with green screens. You can use OBS to remove the background and replace it with custom images, videos, or virtual sets.
5. How do I stop the OBS Virtual Camera?
To stop the OBS Virtual Camera, click the Stop Virtual Camera button in the Controls panel of OBS Studio. This will end the feed to your applications.
Conclusion:
The OBS Virtual Camera is a powerful tool that enhances how you present yourself in online platforms. Whether you’re delivering a professional presentation, streaming gameplay, or hosting a virtual event, OBS Virtual Camera lets you create a polished and engaging output. With its flexibility, creativity, and ease of use, it’s an essential feature for anyone looking to elevate their virtual interactions.
Related Post:
- Also Read: Spypoint Camera – Features, Setup, and Tips!
- Also Read: Camera Logo – Tips for Effective Design!
- Also Read: How To Fix Msi Laptop Camera – Tips for Quick Fixes!

